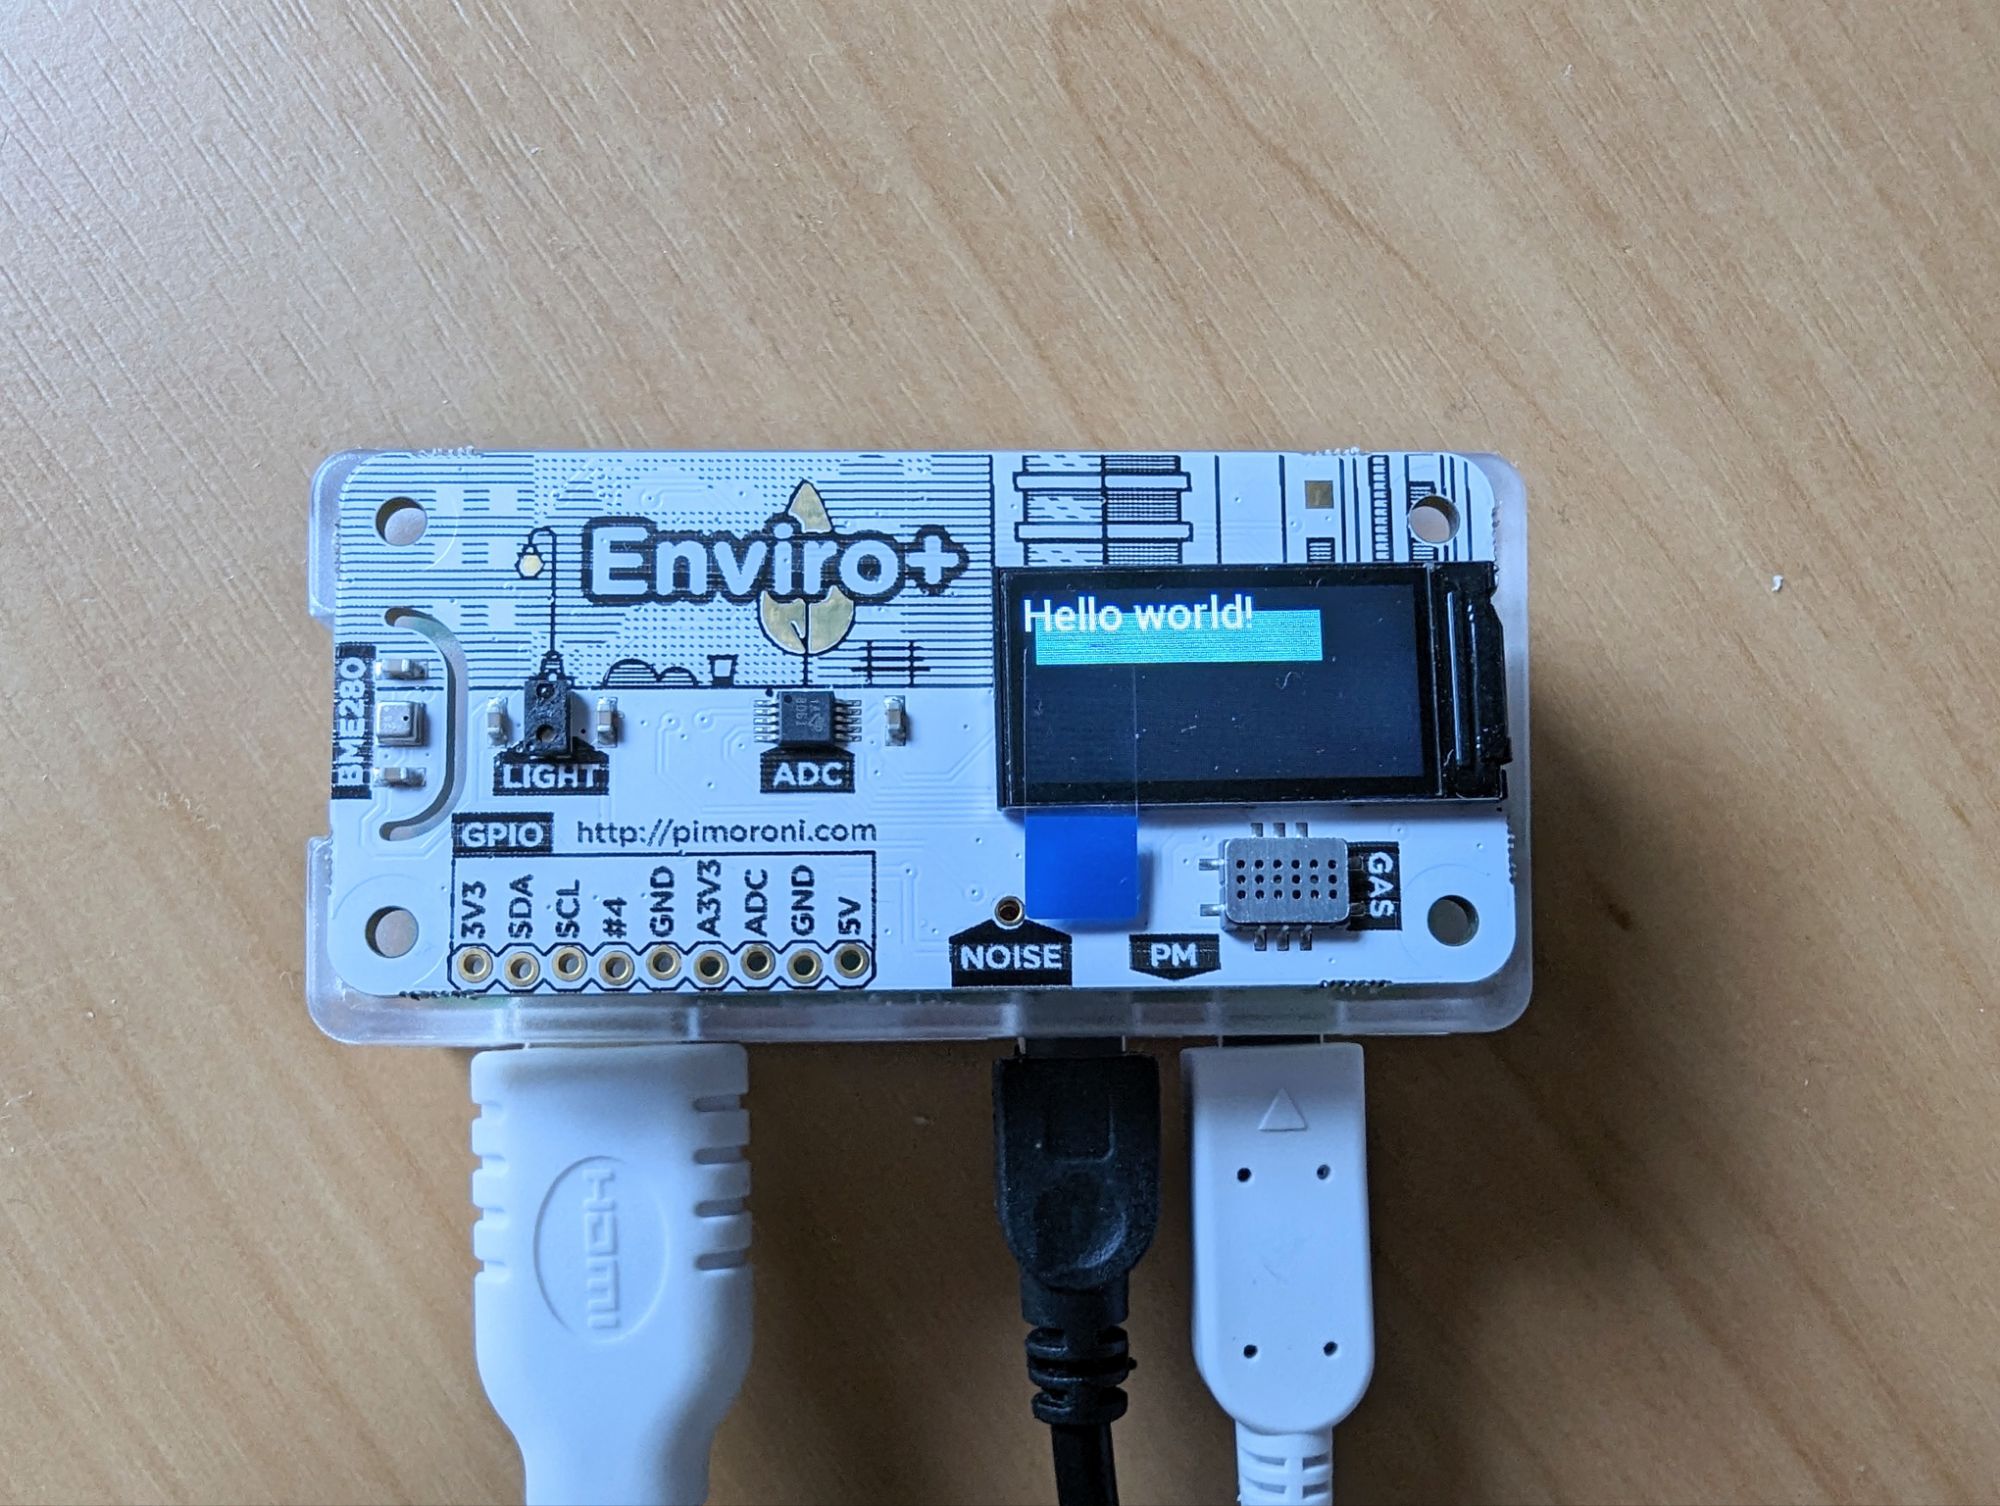
The PIMORONI Enviro+ is an add on board for the Raspberry Pi that includes temperature, pressure, humidity, light and noise levels and pollutant gas sensors, along with an OLED screen.
To get the examples working I needed to add:
pip install pms5003==0.0.5
pip install st7735==0.0.5Code language: Bash (bash)
The code below is mostly taken from the tutorial and examples on Github. I am not a Python expert.
Temperature and Weather
Need to factor in the CPU temperature. See the compensated-temperature.py example on Github.
#!/usr/bin/env python3

# BME280 Weather Sensor
from smbus2 import SMBus
from bme280 import BME280

# Initialise BME280 Weather Sensor
bus = SMBus(1)
bme280 = BME280(i2c_dev=bus)

# BME280 read - No CPU compensation
temperature = bme280.get_temperature()
pressure = bme280.get_pressure()
humidity = bme280.get_humidity()

# Format readings
temperature_C = "{:.2f} *C"
pressure_hPa = "{:.2f} hPa"
humidity_p = "{:.2f} %"

# Output
print("Temperature:\t" + temperature_C.format(temperature))
print("Pressure:\t" + pressure_hPa.format(pressure))
print("Humidity:\t" + humidity_p.format(humidity))Code language: Python (python)
Gas
#!/usr/bin/env python3

# Gas sensor import
from enviroplus import gas

# All readings
readings = gas.read_all()
print(readings)

# Oxidising: NO2
# Reducing: CO
# NH3: AmmoniaCode language: Python (python)
Light
#!/usr/bin/env python3

# Time (not required for sensor)
import time

# LTR-559 Light and proximity sensor
from ltr559 import LTR559

# Setup LTR-559
ltr559 = LTR559()


# LTR-559: Get light and proximity values
while True:
    lux = ltr559.get_lux()
    prox = ltr559.get_proximity()

    print("Light:\t" + str(lux) + " lux")
    print("Proximity:\t" + str(prox))
    time.sleep(1)Code language: Python (python)
Noise
Need to calibrate for decibels.
#!/usr/bin/env python3

# Used for while loop
import time

# Import noise module
from enviroplus.noise import Noise

# Initialise noise class
noise = Noise()

while True:

    # Get and output the mean amplitude at a given frequency range
    meanamp = noise.get_amplitude_at_frequency_range(20, 8000)
    print("Mean amplitude (20 Hz to 8,000 Hz): " + str(meanamp))

    # Get and output the amplitudes at frequency ranges
    amps = noise.get_amplitudes_at_frequency_ranges([
            (100, 200),
            (500, 600),
            (1000, 1200)
        ])
    print("Amplitude at (100 to 200 Hz): " + str(amps[0]))
    print("Amplitude at (500 to 600 Hz): " + str(amps[1]))
    print("Amplitude at (1000 to 1200 Hz): " + str(amps[2]))

    # Get and output the noise profile - low, mid, high, amp
    low, mid, high, profileamp = noise.get_noise_profile()
    print("Low:\t" + str(low))
    print("Mid:\t" + str(mid))
    print("High:\t" + str(high))
    print("Amp:\t" + str(profileamp))

    time.sleep(1.0)Code language: Python (python)
Screen
#!/usr/bin/env python3

# Screen is 160 x 80 px

# Import screen library
import ST7735

# Import Python Imaging Library
from PIL import Image, ImageDraw, ImageFont

# Import font
from fonts.ttf import RobotoMedium as UserFont

# Create LCD class instance.
disp = ST7735.ST7735(
    port=0,
    cs=1,
    dc=9,
    backlight=12,
    rotation=270,
    spi_speed_hz=10000000
)

# Initialize display.
disp.begin()

# Width and height to calculate text position.
WIDTH = disp.width
HEIGHT = disp.height

# Create an image to draw on, a black rectangle spanning the screen
img = Image.new('RGB', (WIDTH, HEIGHT), color=(0,0,0))
draw = ImageDraw.Draw(img)

# Draw a rectangle
rect_color = (80, 180, 120)
draw.rectangle((5, 10, 120, 30), rect_color)

# Write text
font_size = 18
font = ImageFont.truetype(UserFont, font_size)

color = (255, 255, 255)
x = 0
y = 0

msg = "Hello world!"
draw.text((x, y), msg, font=font, fill=color)

# Display the rectangle and text
disp.display(img)Code language: Python (python)
Logs
#!/usr/bin/env python3

# Import time for logging
from datetime import datetime


# Open data file
filename = 'data.log'
# a for append, w for write
f = open(filename, 'a')

# Timestamp
ts = datetime.now()
timestamp = ts.strftime("%Y-%m-%d %H:%M:%S")

# Data
data = "Data"

# Write to file
f.write(timestamp)
f.write(',')
f.write(data)
f.write('\n')

# Close
f.close()Code language: Python (python)
Python Functions
#!/usr/bin/env python3


def test_function(myword, yourword):
    ourwords = "My word: " + myword + "\nYour word: " + yourword + "\n"
    return ourwords

whatwesay = test_function("Hello", "Goodbye")
print(whatwesay)Code language: Python (python)
Additional Features
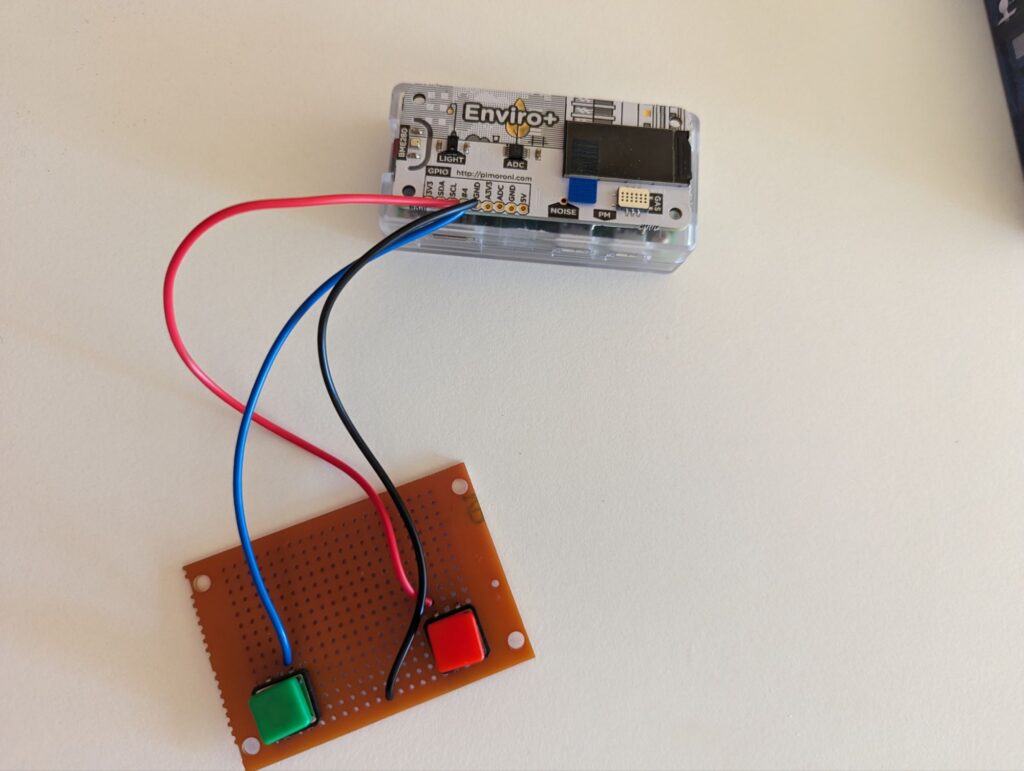
On/Off Switch
See https://github.com/Howchoo/pi-power-button
Physical button detection (GPIO 4)
#!/usr/bin/env python3

import RPi.GPIO as gpio
from subprocess import call
import time

gpio.setmode(gpio.BCM)
gpio.setup(4, gpio.IN, pull_up_down = gpio.PUD_UP)


def bpress(channel):
    print("Pressed!")

gpio.add_event_detect(5, gpio.FALLING, callback=bpress, bouncetime=300)

while True:
    print("Not pressed")
    time.sleep(1)Code language: Python (python)
You must be logged in to post a comment.